SharePoint. Drag-and-Drop File Uploading
In SharePoint there is a native client-side control which provides drag'and'drop file uploads to document library.
Supported Versions of SharePoint
That functionality has been released with SharePoint 2013. Therefore all SharePoint 2013+ instances are supported and SharePoint Online also is as well.
HTML
To initialize client-side control you need to provide HTML-element which will be used as a drag zone. Something like the following HTML-snippet:
<div id="dragzone">
    Drop you files here.
</div>
In my sample I've added some style to make drag zone more bigger and bordered:
<style>
#dragzone{
    width: 100%;
    height: 400px;
    border: 1px solid #dedede;
}
</style>
Configuration
The client-control has the following parameters:
- dropTargetElement - HTML elements about I said above;
- serverUrl - URL-address of the server, can be "/";
- siteRelativeUrl - server relative URL of the site collection. Can be reached via _spPageContextInfo.siteServerRelativeUrl property;
- listName - ID of the document library. Guid, not Name;
- rootFolder - path to the target folder. If equals "" file will be uploaded into the root folder;
- overwriteAll - boolean. If true - file will be replaced if already exists;
- hideProgressBar - boolean. If true - progress bar is not visible;
- refreshFunction - JavaScript function to handle change state of uploading process;
- preUploadFunction - function called before start uploading; - postUploadFunction - function called after uploading processed is finished;
- checkPermissionFunction - function called before preUploadFunction one;
checkPermissionFunction
This argument is for custom validation. If this function is provided and it does not return true uploading process will no start. So if you do not need to validate permission do not use this function.
Handlers
All functions (refreshFunction, preUploadFunction, postUploadFunction) take the single argument of type FileElement[]. FileElement class:
FileElement.prototype = {
    fileName: undefined,
    fileSize: undefined,
    type: undefined,
    droppedFile: undefined,
    overwrite: undefined,
    status: undefined,
    statusText: undefined,
    subFolder: undefined,
    relativeFolder: undefined,
    isFolder: undefined,
    existsOnServer: undefined,
    bytesUploaded: undefined
};
status can have one the following values:
- -1 - INVALID
- 0 - PENDING
- 1 - SKIP
- 2 - READING
- 3 - READ
- 4 - UPLOADING
- 5 - UPLOADED
- 6 - FAILED
- 7 - WARNING
Prerequisites
Client-side uploader defined in DragDrop.js file stored in SharePoint Hive. To use it you need to load this js:
SP.SOD.loadMultiple(['sp.js'], function () {
    SP.SOD.registerSod('DragDrop.js', SP.Utilities.Utility.getLayoutsPageUrl('DragDropy.js'));
    SP.SOD.loadMultiple(['DragDrop.js'], function () {
    // DragDrop.js is loaded
    });
});
All is set. Now just call registerDragUpload method to get the result.
JavaScript
The following JavaScript code initializes drag'n'drop control:
// drag-zone
var element = document.getElementById("dragzone");

// server URL
var serverUrl = "https://corp.portal";

// server relative URL of the site collection. Remove leading slash
var siteRelativeUrl = _spPageContextInfo.siteServerRelativeUrl.substring(1);

// Identifier of the target document library
var listName = "ec706501-47ba-4276-92a1-a62024ba5405"

// upload files to the root folder
var rootFolder = "";

// overwrite file if already exists
var overwriteAll = true;

// show progress bar
var hideProgressBar = false;

// refreshFunction, preUploadFunction, postUploadFunction
var changeStateHandler = function(fileElements){
    console.log(fileElements);
}

// check permissions
var checkPermissionFunction = function(){
    return true;
}

var res = registerDragUpload(element, serverUrl, siteRelativeUrl,
    listName, rootFolder, overwriteAll, hideProgressBar,
    changeStateHandler, changeStateHandler, changeStateHandler,
    checkPermissionFunction);

if(res == false){
    // Something went wrong. Client-side control has not been initialized properly
}
else{
    // The control is initialized
}
Result
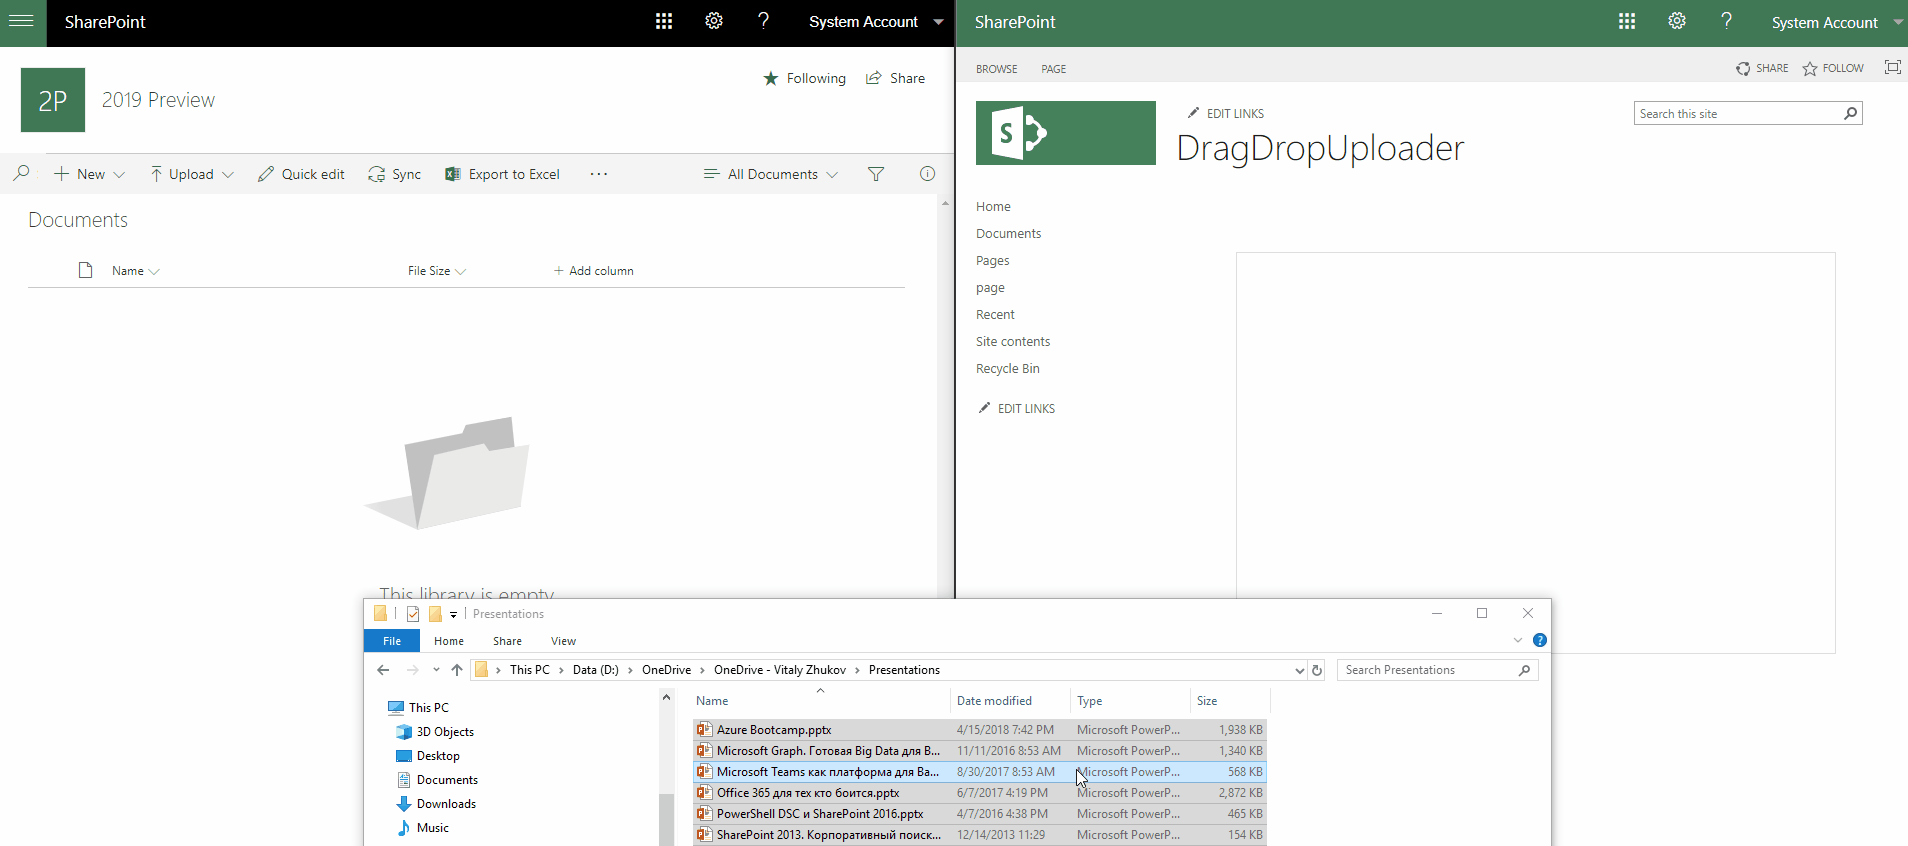
For testing of this approach you can add the following snippet to a page located in SharePoint on-premise/online:
<div id="dragzone">
    Drop you files here.
</div>
<style>
    #dragzone {
        width: 100%;
        height: 400px;
        border: 1px solid #dedede;
    }
</style>
<script>
SP.SOD.loadMultiple(['sp.js'], function () {
    SP.SOD.registerSod('DragDrop.js', SP.Utilities.Utility.getLayoutsPageUrl('DragDropy.js'));
    SP.SOD.loadMultiple(['DragDrop.js'], function () {
        var element = document.getElementById("dragzone");

        // Replace with your server address
        var serverUrl = "https://corp.portal";

        var siteRelativeUrl = _spPageContextInfo.siteServerRelativeUrl.substring(1);

        // Replace with your document library ID
        var listName = "ec706501-47ba-4276-92a1-a62024ba5405"

        var rootFolder = "";
        var overwriteAll = true;
        var hideProgressBar = false;
        var changeStateHandler = function (fileElements) {
            console.log(fileElements);
        }
        var checkPermissionFunction = function () {
            return true;
        }
        var res = registerDragUpload(element, serverUrl, siteRelativeUrl,
            listName, rootFolder, overwriteAll, hideProgressBar,
            changeStateHandler, changeStateHandler, changeStateHandler,
            checkPermissionFunction);
    });
    });
</script>
And the result: